Configuring FreePBX
We start by creating an extension and a user linked to it.
Login in the FreePBX administration page and go to:
Applications -> Extensions -> Add extension -> Add new Chan_SIP extension
There we enter the data we want for our extension and linked user.
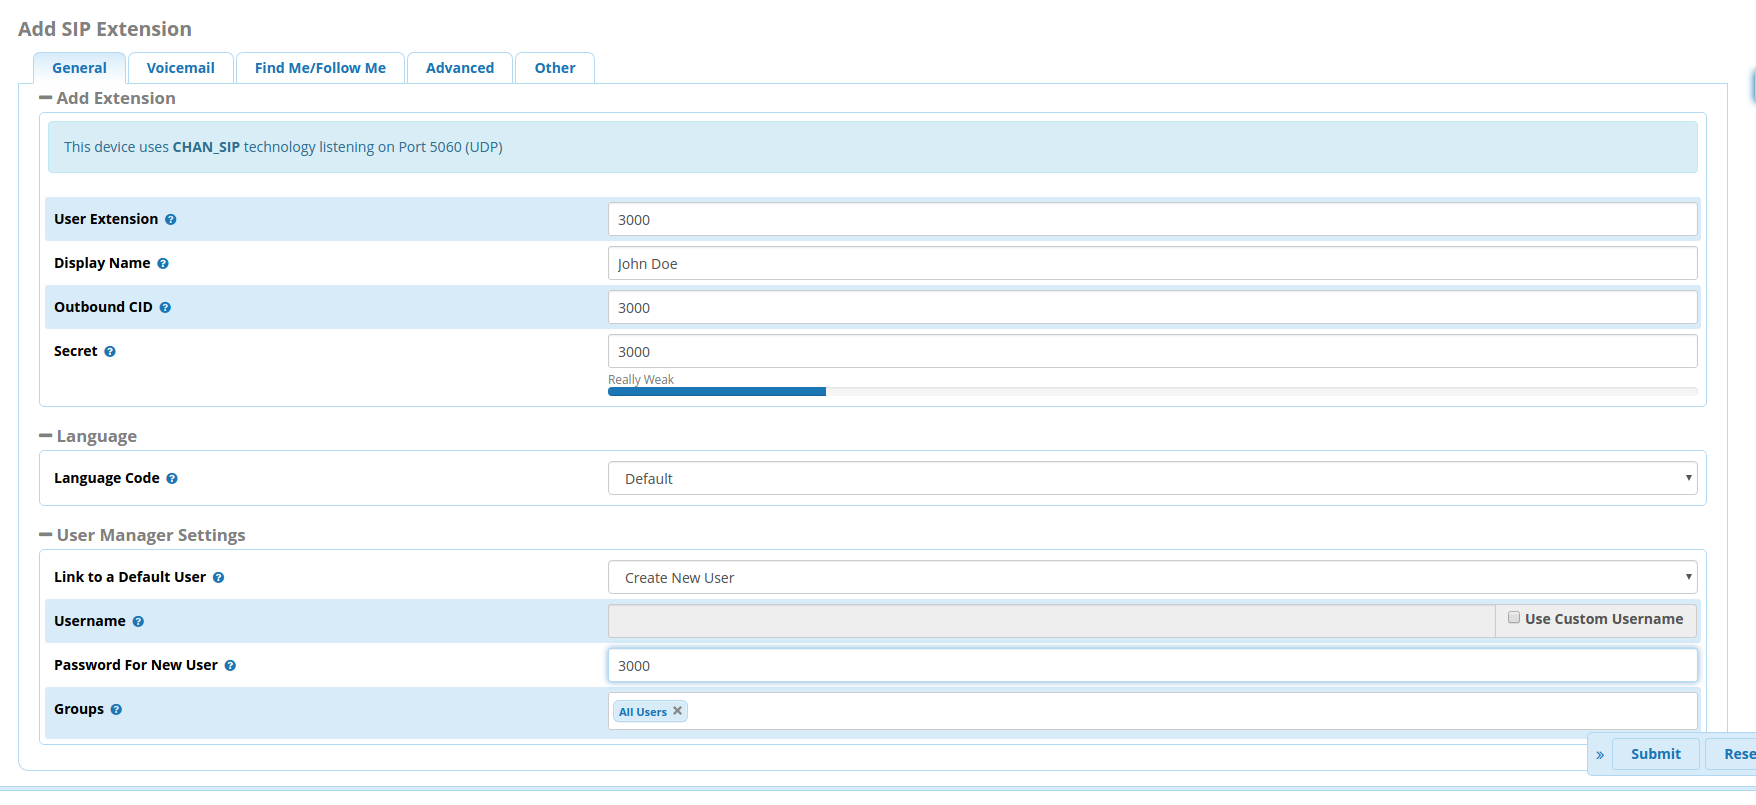
Click on Submit and then Apply Config to finalize the extension creation.
We then need to enable WebRTC for this extension so we click on the edit symbol under Actions and we go to the Advanced tab.
Here we need to set the following options:
Transport must be set to All – WSS Primary
Enable AVPF must be set to yes
Enable ICE Support must be set to yes
Enable DTLS must be set to yes
Click On Submit then on Apply Config

Now we need to go to Admin -> User Management to enable WebRTC for this user.
Click on the Edit Symbol under Action then go to the UCP tab.
From there we go to the WebRTC tab and set Enable WebRTC Phone to yes.
We click on Submit then Apply Config.

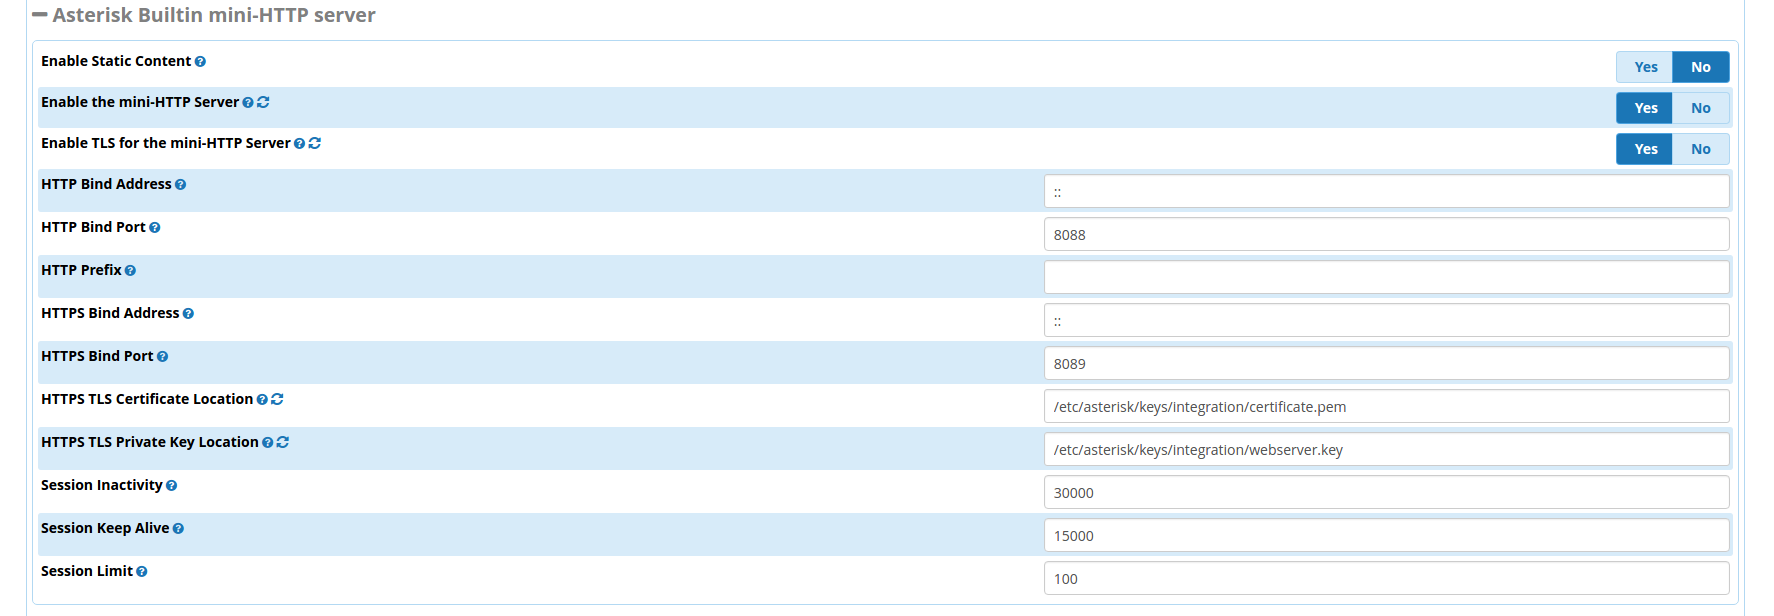
Now we need to Enable the TLS mini-HTTP server to allow HTTPS connections to Asterisk.
Go to Settings -> Advanced Settings
and set Enable TLS for the mini-HTTP Server to yes.
The only thing left to do is to create a Self-Signed Certificate to pair with our WebRTC extension.
we go to Admin -> Certificate Management -> New Certificate -> Generate Self-Signed Certificate

After we generate the certificate we set it as the Default Certificate by clicking on the Default Column.
This will ensure that the extension and the user both use the correct certificate. If you don’t want to set this certificate as a default certificate, you can either use your previous default certificate or change all the reference to the new self-signed certificate from the advanced settings of the extension and the WebRTC tab in the User Settings.
Notice:
- the extension, transport, wss may not necessary since the webrtc use extension 99+extension
- while webrtc has no audio, config stun server, in “sip settings” => “Media Transport Settings”, the stun server list, please check,
https://gist.github.com/zziuni/3741933